Introduction To Embedded Programme
Today we learnt to sign in into tinkercad and download and install arduino software
These consists of
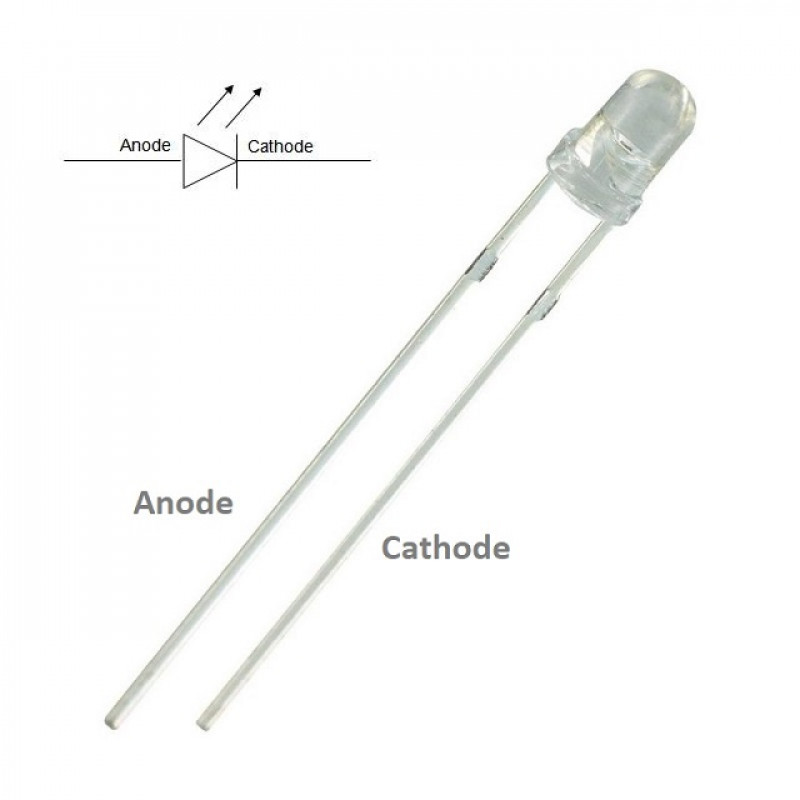
- LEDs --> Learnt the properties of a LED and the parts of it like an anode and cathode
- Long leg of LED is the anode (+)while the shorter part is the cathode (-)
- Learning how to refer to the data sheet
- Know what is a forward voltage (apply voltage to the LED) only when the voltage exceed the threshold then the LED will light up
- 3 types of LED , Red, Green and Blue
- We need to know the max current which is 20mA
- How much current flow depends on the current and resistance V=IR
- The total current must be equal to 0
- The higher the current the higher the intensity
- Vr = IR // IR = Vcc - Vled // I = Vcc - Vled/ R
- Hence these can be done by adjusting the voltage entering the LED
- LED blows up if too much current goes through
- Actual voltage of the current depends on the type of LED
- When you drive one LED, you can drive multiple LEDs
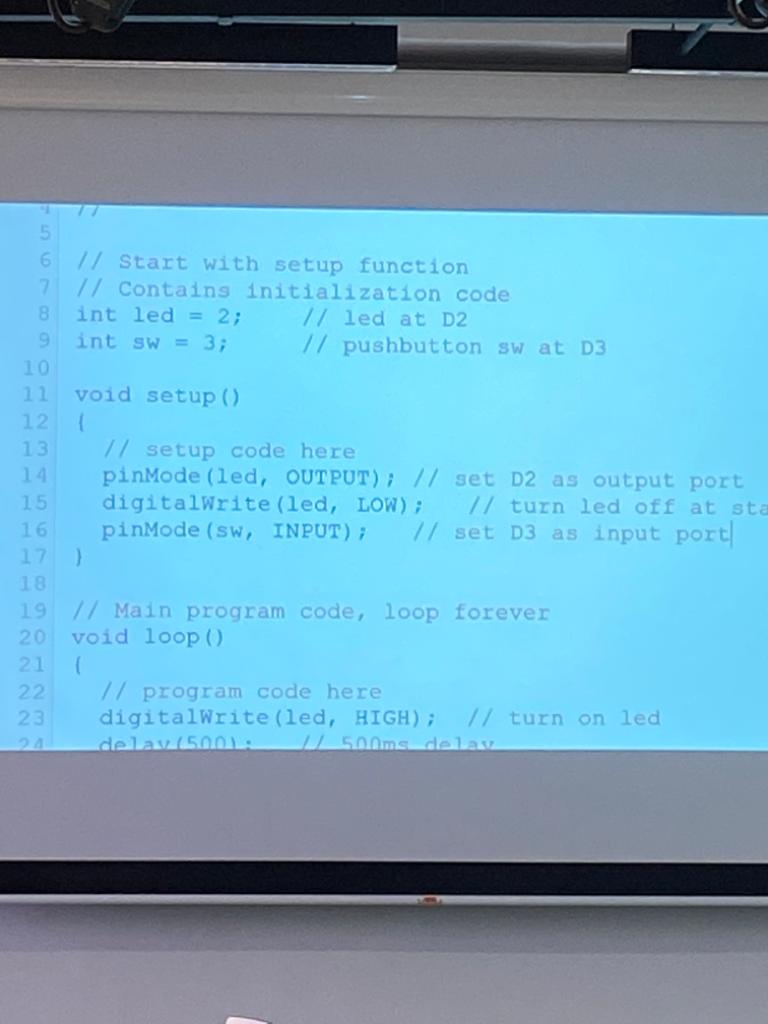
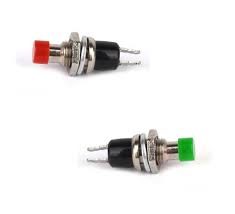
Switches, push buttons --> The keys on our computer are switches, our digital watches are also using switches, same goes for our mobile phones
- The switch has an input and output port, meaning we want to connect a switch to the port
- Any wire is an atennnae
- A Signal resistor : We will put a resistor before the switch, when the switch is open, the input level is 5V (1), when the switch is released, it drops back to 0V (0) automatically
Programming - One of the most common skill needed to be learnt in the current society
Before going into the programme, we went through what the programme does
- // (this is a comment)
- /* (multi-line comment)
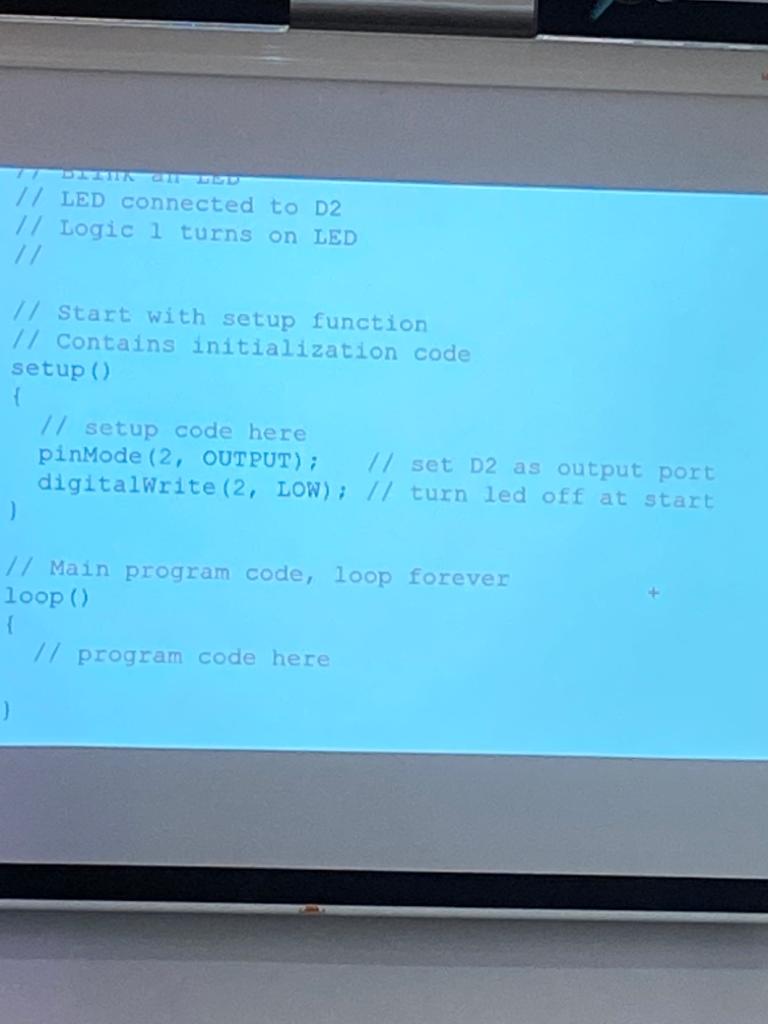
- 1. Set-up section (or code)
- 2. Loops section --> Runs forever like a loop ( Everything within your bracket is your main programme/function)
- Pin Mode ( pin#, INPUT )
- Pin Mode ( pin#, OUTPUT )
- Need to have a semi colon at the end of every statement
- All functions will return something, if theres no return then it would be called a void function
- Programming is case sensitive
- Digitalwrite // turn on or off led with a delay stated for example, delay (500); // 500ms delay
Types of commands:
.JPG)
FORMAT FOR PROGRAMMING
Once we are able to understand the code, we can do many other things simply just by either replicating it or changing it
Rhino has an extenstion called grasshoper which can be used to add interactivity to your design with an arduino board

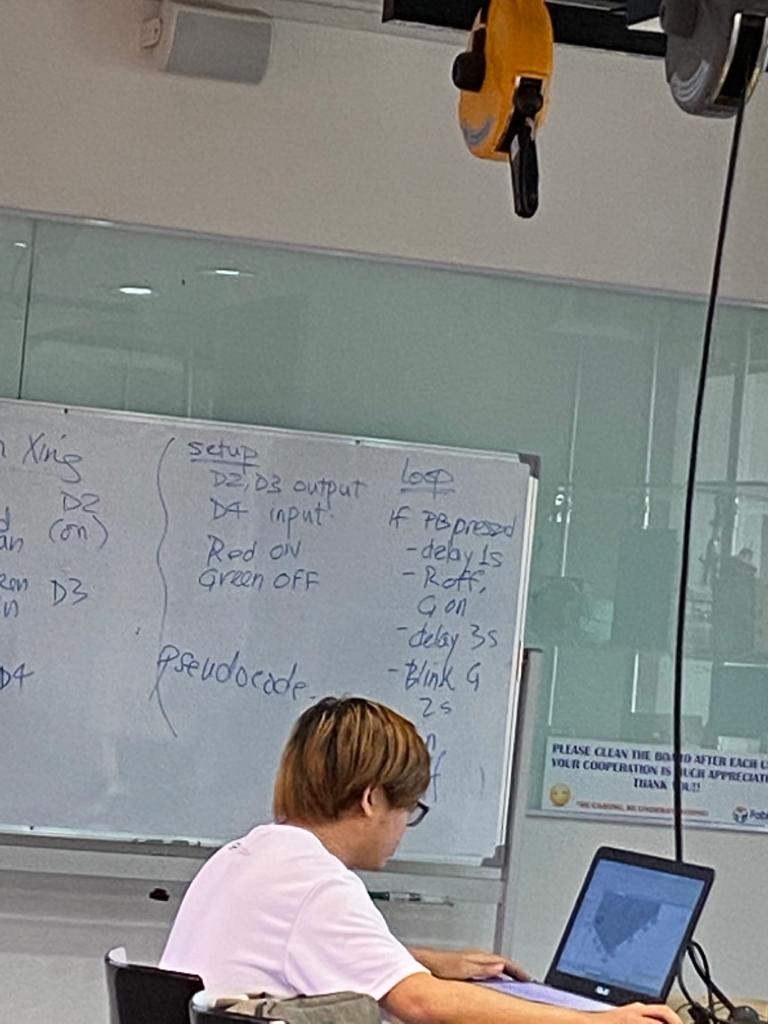
- For example, when you press the switch on the arduino board, it will state " Switched Pressed!"
- You will use the switch to control the LED
- Upon pressing a button, green light will come on for awhile before reverting back to red again
Serial Monitor : Informs you of the ongoing process of the stimulation
Can be reflected in a traffic light for the programme